FairholmeWalkerCloughBackTorWheelstoneLadyBInnWinnHopeCrossHaggLockerOuzledenFairholme
5th December 2008
Who went: Self, PNO went to Lincoln, others put off by weather
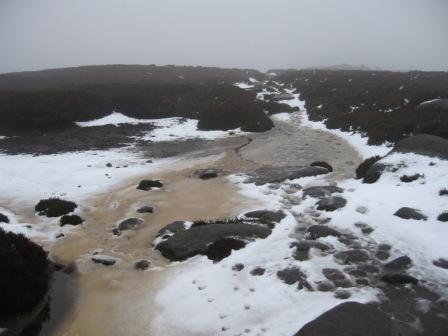
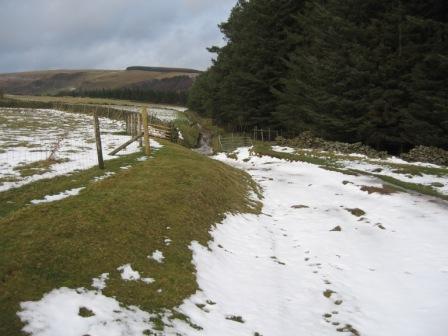
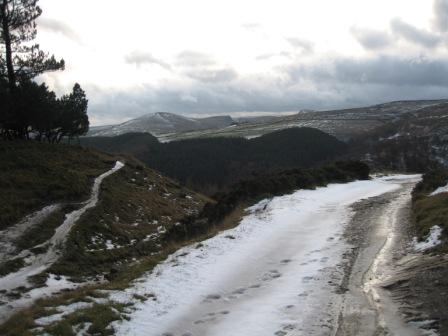
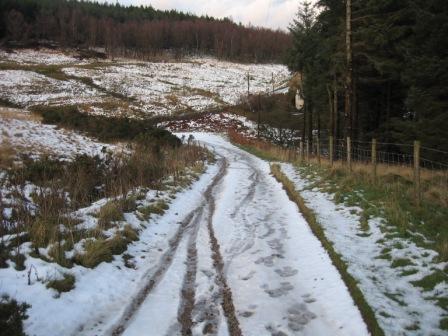
Weather: In the morning the cloud was low ~1000ft, so I decided on a Fairholmes start and not the Kings Tree and Westend Valley route that was planned. It was cold, especially on tops in wind, but it was pleasant in the valleys. The cloud lifted around 13.00, which resulted in occasionally sunny periods late in the afternoon. Underfoot it was slushy snow especially on paths where the snow had drifted. In retrospect I could have gone up Westend Valley but that will wait for another week.
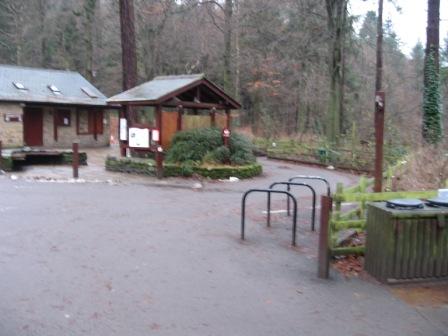
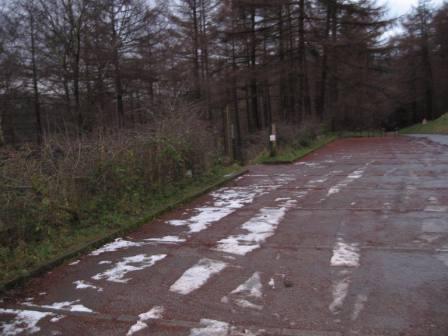
Parking: Park at Fairholmes- £3 for the day. There are toilets and a café which stays open to 16.00 even in the winter and later in the summer
The Walk
Start from the Fairholmes car park. Walk back to the visitors centre and take the path that skirts round the edge of the dam to a road that drops down from the roundabout on the main valley road, under the bottom of the dam and onwards to the eastern side of the reservoir. Turn right and walk along the road towards the dam wall.
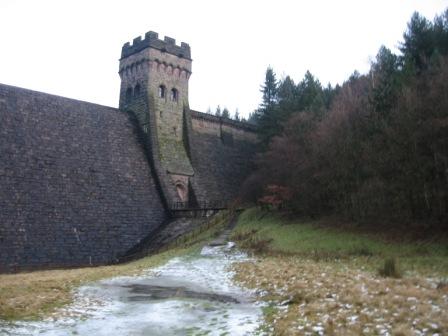
After crossing the road bridge, turn left off the road and cut across the flat grass land in front of the dam wall to its eastern corner. As I left the road someone had built a snowman from the covering of snow. From the bottom of the dam wall a stepped path climbs to the top of the dam where a gate gives access to a path. Turn left and shortly you hit the graveled road that runs down the eastern side of the dam. Keep ahead heading north up the road.
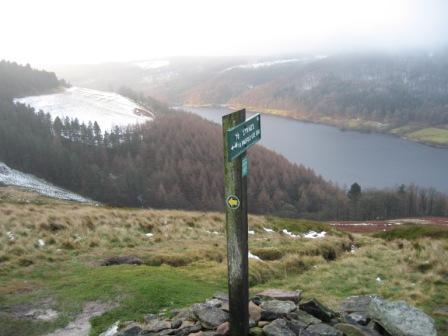
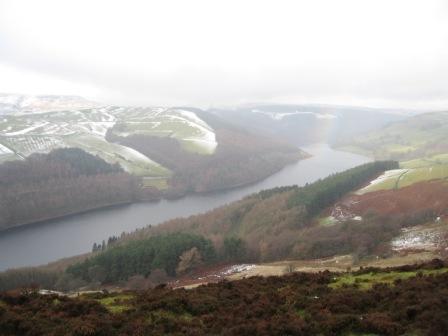
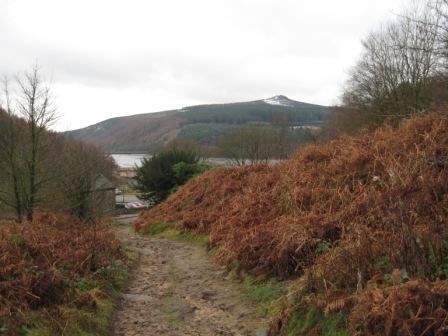
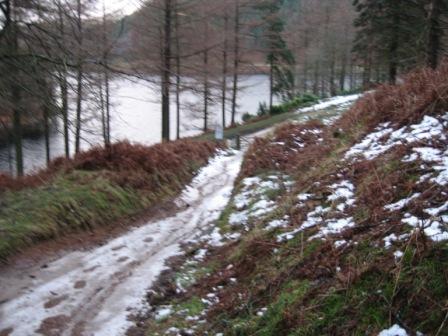
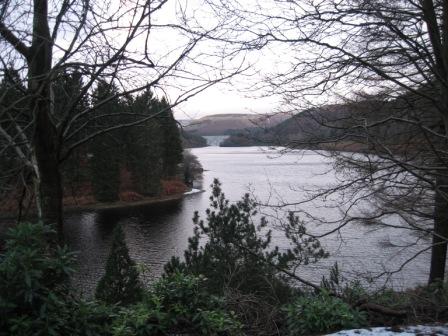
It's a lovely walk along the wooded road whatever the season. Today it was sullen with low threatening cloud giving the waters of the reservoir a moody sinister appearance.
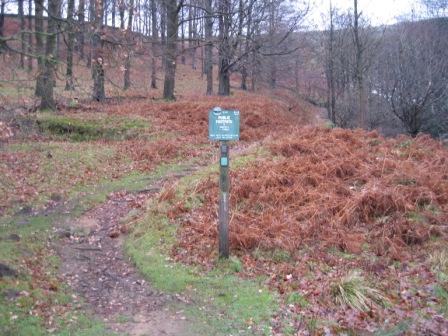
Follow the road for a 1km past Hollins Clough until you hit Walkers Clough. It's not difficult to miss as there's a bench and a FP (to Strines). Turn right and climb up the left hand side of the wooded clough to a gate in the wall.
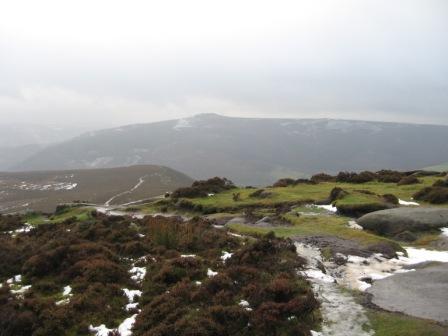
From here you leave the woods round the reservoir and climb up onto grassy moorland until you hit peat on the tops of Back Tor.Through the gate at the top of the wood the path goes left and climbs away from the stream in the Clough. The line of the path is easy to follow (there are posts) as it bends and turns until the gradient eases at a FP and a track that runs NW/SE along the edge. By now we were truly into low cloud with restricted visibility.
At the FP go straight ahead up the right hand side of a wall on a track. The track eventually bends right away from the wall to a post at a wall corner.
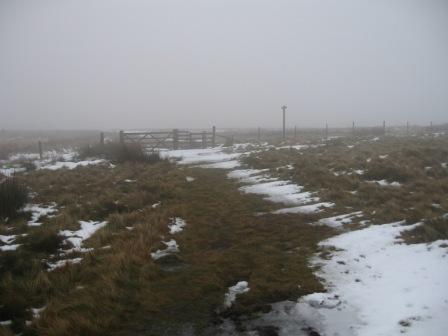
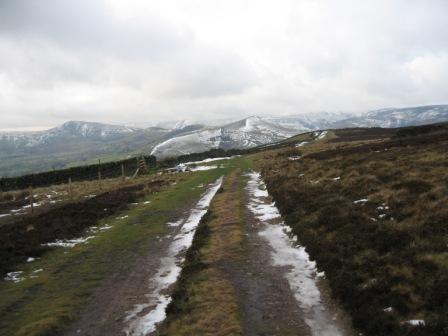
The track bends left and follows the line of another wall (20m to your left) to a 5 bar gate in a fence (FP). Through the gate the track continues gently climbs and is joined by a track from the right. Keep on the track, which shortly starts to bend left towards the bottom of Lost Lad Hillend where the path to Bradfield Gate head leaves it.
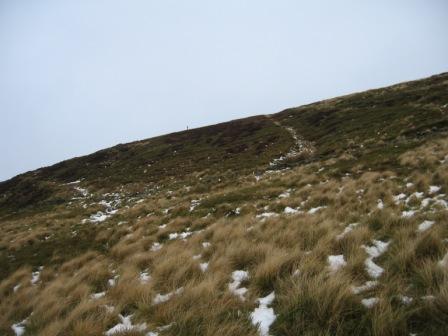
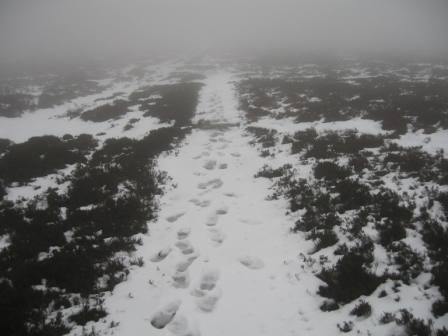
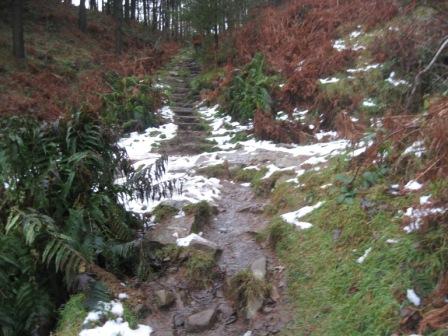
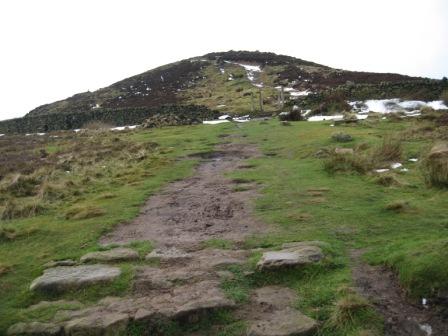
Continue until you hit another track climbing up from the valley bottom. Turn right and climb up a well defined track to the top of Lost lad Hillend. The track is worn away and below ground level and so was covered in drift snow. You hence had to climb up the side of the path, making going slower than expected.
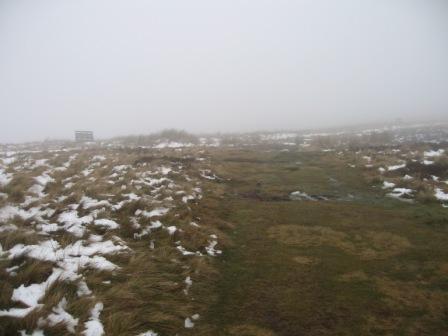
From Hillend continue forward, initially its flat before climbing up to the cairn and panorama at Lost Lad. On a good day the views are a wonderful but today it was a grey mist.
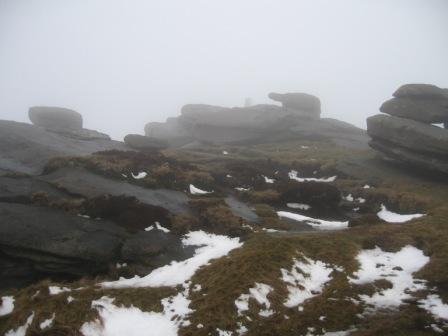
The path continues forward, partly paved, and in 0.5km out of the mist are the stones of Back Tor.
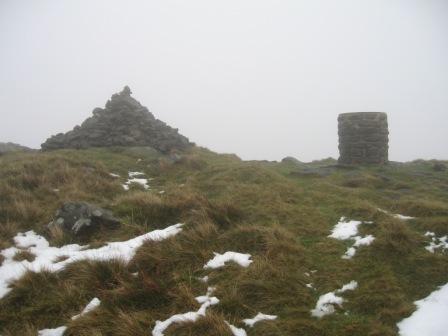
The trig point is perched on the highest of the stones. This is the highest point on the route. From here turn right and descend down a paved track to the stone that marks Bradfield Gate Head and the crossroad (or should it be path) with the Derwent/Strines path we were on earlier. You might ask 'Why did we leave the path?' On a good day the reason is obvious – greater distance – no it's the views from Lost Lad.
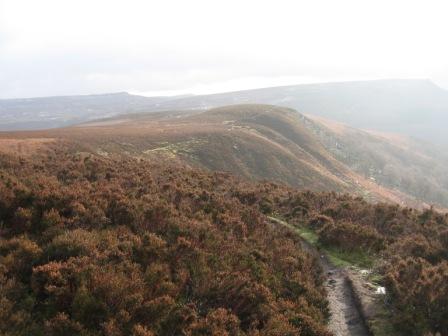
The path now follows the popular and well trodden edge of the Derwent valley, past Cakes of Bread, Dovestone Tor, Salt cellar, White Tor and Wheel Stones before descending down crossing the Moscar/Derwent path to Whinstone Lee Moor. Before Wheelstones I met 2 ladies heading for Back Tor, they weren't happy, this was followed by 2 grey heads climbing up to Wheelstones; I was later to see these two gents as they climbed up from the river Ashop towards Hope Cross. The path is partly paved and easy to follow. It is popular and you can understand why.
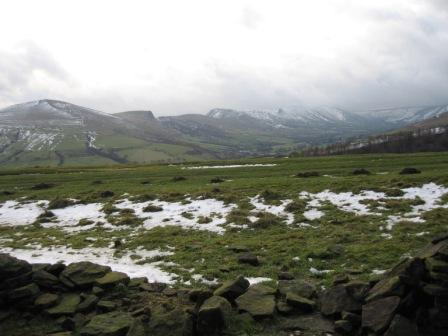
The views are excellent, the colours of the moors change with the season but they are far from dull and for me it gives you the feeling of desolation that only heather moors can bring.
There two ways to descend from Whinstone Lee Moor. You can turn right and drop down round the side of the Moor or better (as I did on this walk) continue straight on a good path that takes you over Lead Hill to Ladybower Tor.
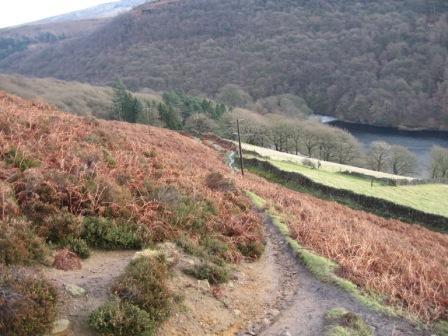
From here the path drops down bracken covered hillside under HT cables to a path that runs on the top side of a wall. Turn left and follow the wall down (on your right) to a 5 bar gate. Through the gate the path continues above the Ladybower Inn to a track (FP).
Turn right and drop down to the Ladybower Inn and the Snake road (A57).
From the Inn drop down to the traffic lights and turn left down the A6013 towards Bamford. First you cross a viaduct with good views over the reservoir, then walk down the road past Heatherdean car park to the dam wall.
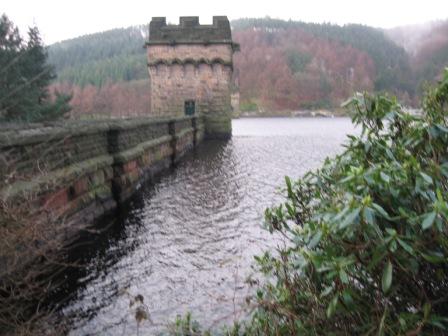
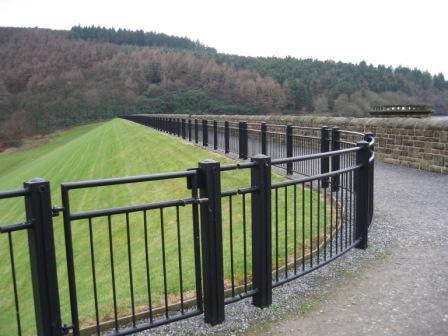
At the wall turn right and cross it. It provides excellent views both north towards Ladybower Tor and south to Offerton Moor. The views change with the seasons but they are always worth standing in the centre of the dam wall and looking both north and south. Cross the dam and turn left down a metalled road heading for Thornhill (FP).
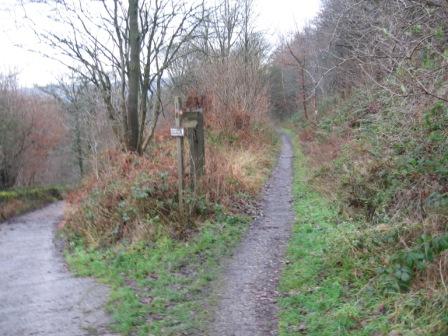
Don't take the path going off right immediately at the end of the dam wall but walk 300m down the road before turning right onto the Thornhill trail (FP) which follows the line of an old railway through the bottom of a wood.
200m down the trail turn right (FP) and follow a steep path that ascends up the right hand side of Parkin Clough. It's a good climb. Half way up I could hear noises behind. A lady followed by a gentleman, around my own age, quickly caught me and then passed me as they headed for the top. They must have been climbing 50% quicker than me. A bit of a shock; I knew I was walking steadily but I didn't know I was walking so slowly. The ascent crosses two paths equidistant up the climb before hitting a gate in a wall (FP).
Continue ahead and shortly you leave the wood before ascending up stone steps to the stone cap marking the top of Win Hill.
In a few metres you come across the trig point and wonderful views.
From the top of Win Hill continue straight on a good path heading west. The path shortly develops into a tack and follows the line of a new fence on your left.
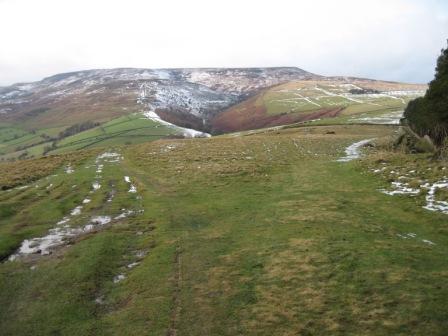
In 500m the fence becomes a wall and in a further 400m after passing through a 5 bar gate you leave the wall and begin the 2.5km descent along a grassy track to Hope Cross.
As you drop down the view of Lose Hill, The Ridge and Edale valley open up on your left. Ahead are Jaggers Clough, Crookstone Moor and Kinder. After 1km the track bends left and drops down to a track coming up from Hope. Don't drop down left, but carry on straight on a track that out turns at the junction of a boundary wall on your right and a wall that comes up from the valley bottom. Cross a wooden fence and continue down a track with a wall on your left and the wood on your right. It's a straight route to Hope Cross. There are four names on the four edges of the Cross – Glossop, Hope, Edale, and Shefield – with one f.
From The Cross go straight (FP), heading NE and ascending up a rough newly fenced track to another fence.
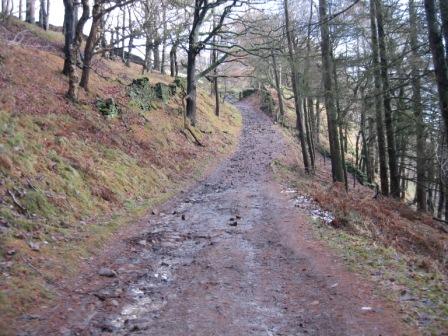
Through the gate turn right (FP) and start the drop down along a good track to a bridge that crosses the River Ashop. It's a good track that initially drops down with a wood on your right hand side and grass moorland on your right. After 0.5km you enter the wood via a gate and continue to descend. In 200m the track turns sharp right. There are 2 alternatives here. The shortest way is to turn left down a track 100m after the bend. This drops down to another path/track. Turn right and drop down to the bridge over the Ashop. However, the easiest way is to continue on the main track which twists and turns until you come down to a track that runs along the valley bottom. When you hit the track, there's a gate on your right.
Turn left and walk along the track for 300m until the path meets the river and you turn right and cross the river via a bridge.
Across the bridge take the track that turns left and climbs up to the Snake Road (FP). Cross the road and take a metalled lane (FP) that continues to climb up the valley side. In 150m the road turns sharp leftt to Hagg farm – an outdoor centre – but we continue straight through a 5 bar gate, into a wood and onto a track.
The track twists and turns through the wood and in 300m of climbing you leave the wood via another 5 bar gate and climb to the top where you cross a track from Crookhill to Alport Castle at Woodcock Coppice.
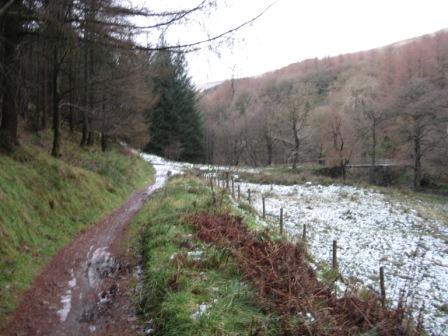
There are a number of ways to return to Fairholmes. The gentlest but longest is the one described here. Ignore all the FP signposted to Fairholmes because we are going to drop down into Ouzelden Clough. Continue ahead. The track begins to descend with a wood on your right. After crossing Locker Brook you pass the old Lockerbrook Farm – now an outdoor centre - and then climb until you hit a wood on your left. The track contours round the top of the wood before starting to descend into Ouzelden Clough.
It enters the wood, continuing to descend until you it the valley road (FP). Turn right on the road; you now have a 1.5km track back to Fairholmes.
But it's a nice walk in the evening light. Today was no exception. Continue along the road to the dam wall. Today as I passed Gore Farm, fencers were working in the fields on the right dropping down to the reservoir. A tractor with a pneumatic post hammer was struggling to get up the field from the water's edge. Later I met the fencers at the café at Fairholmes. Looked as if you were struggling to get up the field I said. Not really but we did think we might end up in the water a couple of times earlier in the week.
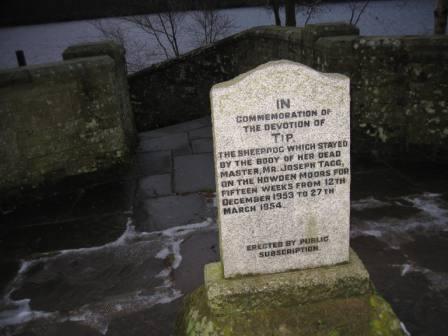
Just before you reach the Derwent Reservoir wall take a minute to read the memorial to Tip the shepherd dig that stayed by his owner after he collapesd and died on Howden Moor.
Just after the dam wall turn left (FP) and drop down on a good path through a wood to a road (FP). Turn right and in 200m turn left (FP) down a path that takes you back to Fairholmes car park and a hot drink and toilets
Summary
A good walk for inclement winter weather. The paths are easy to find and follow. There are some fine view points.
Home Start Point PeakDistrict Books Related Sites TextOnly Map&Summary
Home Start Point PeakDistrict Books Related Sites TextOnly Map&Summary